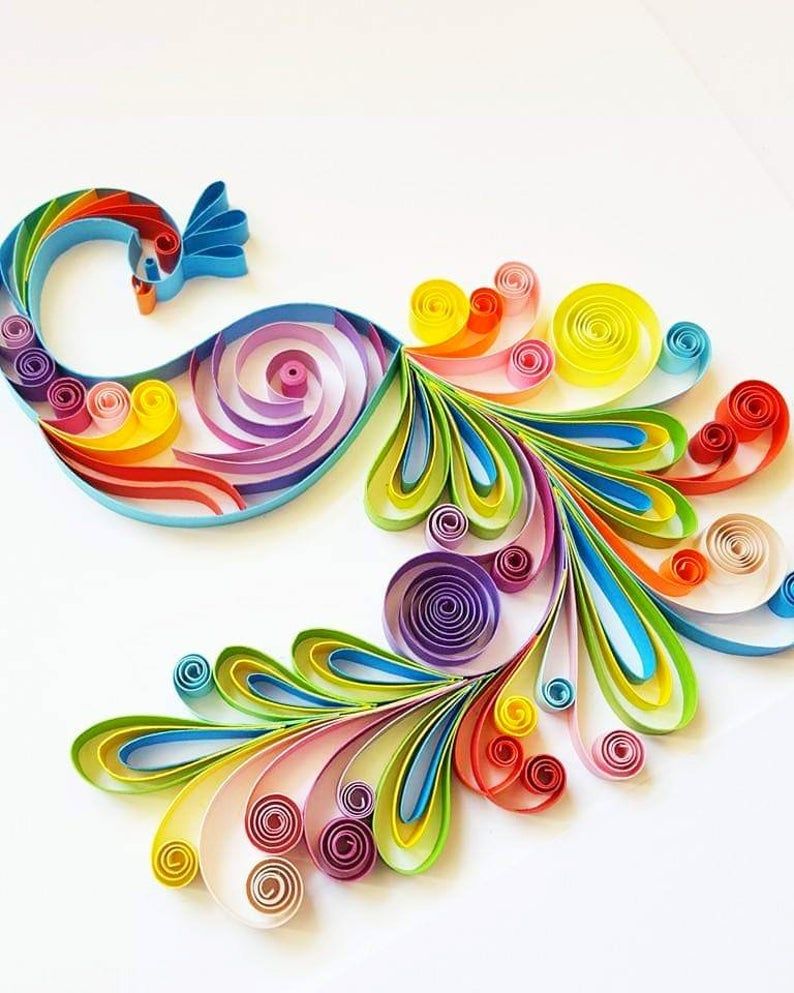
Paper quilling looks difficult and fragile, but is actually quite strong. Its coiled shapes can be bent, stretched and twisted without breaking.
The skill was popular among genteel ladies who used it to while away their leisure hours. They rolled and shaped paper into intricate designs to decorate screens, tea caddies, work baskets, frames and, eventually, furniture.
How to Make Earrings
A kit is a great gateway drug to an exciting new craft, and this one delivers with all the tools you need, pre-cut paper strips, and ideas for making earrings. Choose contrasting colors to get a bold look, or use similar ones for a more subtle appearance.
To make the simplest of these earring shapes, simply wrap a strip around a small cylinder (like a glue stick) to form a hoop shape. Glue the end in place to hold the shape, and you’re done.
For the other designs, simply wrap a coil around the tool handle a few times, then pinch one end to create a teardrop shape. Glue the end in place and trim excess paper. Then attach earring hooks. When you’re done, your earrings are ready to wear! For a more intricate look, consider adding an embellishment like a bead. Just be sure to match the color and style of the embellishment to the earring!
How to Make Pendants
Whether you have made a lot of coiled paper jewelry or just started, you can try this easy and lovely pendant. It is perfect for practicing your paper quilling skills and also a great way to show off!
To begin, select a strip of your first color and quill it using the slotted tool. After the strip is completely coiled, carefully take it out and allow it to loosen up a bit. Then, pinch the end to create a pointy edge and you will have your first petal for your flower!
Repeat the process with a dark colored strip to make another petal. Now, glue the dark and bright colors together to form a flower. Finish off with a dark colored c-scroll and attach a jump ring through its loop to hang the pendant. Then, apply a matte sealant to preserve your creation! Alternatively, you can use a Krylon leafing pen or metallic gel pen to add a shimmery look.
How to Make Necklaces
If you want to add a graceful and handmade jewelry piece for yourself, try this diy paper jewellery. The necklace looks awesome and can be worn with Indian or western attires.
To make this necklace, take a yellow quilling strip and prepare some pink quilled petal shape and arrange them around the center of yellow roll to form a flower. Make about 5-6 such flowers. Now glue them to one another and make a pendant shape of flowers.
Apply glue on the edges of the petals and stick golden beads to them. Now fix a jumper and hook on both ends of the wire chain and then paste the pendant to it. Add a necklace cord and your gorgeous diy necklace is ready to be worn!
How to Make Bracelets
This is a fun yet simple accessory to make. For this, you will need a few strips of quilling paper in different colors. Roll each strip into a coil and glue it together to form an elegant cuff. Glue golden beads or other decorative materials on the cuff for a more stylish finish. You can even use a hook to secure the bracelet.
To create the eye shapes, take a strip of your second color and quill it using your slotted tool. After quilling, carefully take the strip out of the tool and allow it to loosen a bit by placing it on a flat surface. Pinch one end to create a pointy edge and repeat this for all six eye-shaped coils.
Once you have all of the eye-shaped coils, attach them to the center circle by gluing any pointy ends that connect with each other. Continue this pattern to create your bracelet and tuck the loose ends into the pocket of the weave.Paper Quilling Jewelry
